Manual eyesight checks are simple, effective methods to assess vision health at home. Using tools like Snellen charts, they help monitor visual acuity and detect potential issues early.
Overview of Eyesight Testing at Home
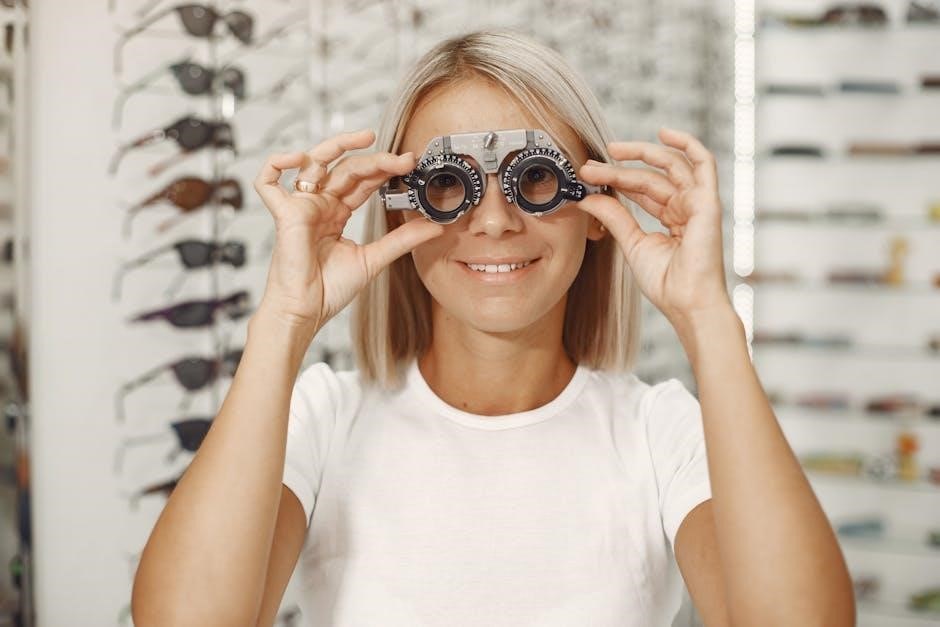
Eyesight testing at home involves simple, accessible methods to monitor vision health. Using tools like Snellen charts, individuals can assess visual acuity, near vision, and peripheral vision. Proper setup is crucial: ensure the testing area is well-lit, free from glare, and at the correct distance (10-20 feet for distance vision). Covering one eye at a time allows for accurate results. While home tests provide valuable insights, they are not a substitute for professional exams. Regular at-home checks can help detect changes in vision, prompting timely professional evaluations. This approach empowers individuals to take an active role in maintaining their eye health.
Importance of Regular Vision Screening
Regular vision screening is essential for early detection of potential eye issues, ensuring timely interventions. It helps identify refractive errors, eye diseases, and other vision problems before they worsen. Consistent checks enable monitoring of vision changes, preventing conditions like myopia or glaucoma from progressing unnoticed. Professional exams provide accurate diagnoses, while at-home tests offer a preliminary assessment. Early detection can significantly improve treatment outcomes and preserve vision. Regular screenings also promote overall eye health, encouraging individuals to maintain proactive care. This routine practice is vital for both children and adults, fostering better visual acuity and quality of life.
Preparing for a Manual Eyesight Test
Prepare by gathering a Snellen chart, occluder, and ensuring proper lighting. Position the chart at eye level, 10-20 feet away, and wear corrective eyewear if needed.
Setting Up the Testing Area
Setting up the testing area correctly ensures accurate results. Position the Snellen chart on a wall at eye level, 10-20 feet away for distance tests. Ensure the room is well-lit to avoid eye strain. Avoid placing the chart near windows to prevent glare. Use a ruler to draw horizontal lines between the letters, filling them in completely for clarity. Cover one eye at a time during testing. Maintain the correct distance based on the type of test—distance or near vision. Proper setup helps in achieving reliable and consistent results for manual eyesight checks.
Lighting and Distance Requirements
Proper lighting and distance are crucial for accurate manual eyesight checks. Ensure the testing area is well-lit to minimize eye strain and reflections. Avoid placing the chart near windows or direct light sources to prevent glare. For distance vision tests, maintain a standard distance of 10-20 feet between the individual and the Snellen chart. The chart should be positioned at eye level to ensure consistency. Incorrect lighting or distance can lead to inaccurate results. Always verify the lighting and distance before starting the test to ensure reliable outcomes and proper assessment of visual acuity.
Using a Snellen Eye Chart
The Snellen eye chart is a standardized tool for measuring visual acuity. It consists of lines of letters decreasing in size from top to bottom. To use it, print the chart on standard paper and pin it to a wall at eye level. Ensure the room is well-lit and free from glare; Stand 10-20 feet away, depending on the chart’s design. Cover one eye and read the smallest line of letters you can see clearly. Repeat with the other eye. The Snellen chart helps identify visual acuity issues, with 20/20 vision indicating normal acuity. This tool is essential for manual eyesight checks at home.
Types of Vision Tests
Common vision tests include distance, near, peripheral, and color vision assessments. Each evaluates different aspects of visual function, ensuring comprehensive eye health monitoring and early detection of issues.
Distance Vision Testing
Distance vision testing assesses how well you see objects far away, typically using a Snellen chart placed 10-20 feet from the patient. The individual covers one eye and reads the smallest line of letters they can see clearly. This test evaluates visual acuity, expressed as a fraction (e.g., 20/20 or 20/40). It helps identify refractive errors like myopia or hyperopia. Proper lighting and chart positioning are crucial for accurate results. While this test is useful for self-monitoring, it should not replace professional eye exams, as it does not assess other critical aspects of vision, such as peripheral or color vision.
Near Vision Testing
Near vision testing evaluates how well you see objects up close, typically at a distance of 14 inches. This test uses a near vision chart containingsmall text or symbols. To perform the test, hold the chart at eye level and read the smallest line you can see clearly. Wear reading glasses or bifocals if needed. Cover one eye at a time to assess each eye separately. Proper lighting is essential to avoid eye strain. This test helps detect issues like presbyopia or myopia affecting close-up vision. While useful for monitoring, it does not replace professional exams, which provide a comprehensive assessment of eye health.
Peripheral Vision Testing
Peripheral vision testing assesses the ability to detect objects and movement outside the direct line of sight. This test is crucial for identifying issues that may affect side vision. To perform the test, cover one eye and focus straight ahead while a helper moves a finger or small object toward the edges of your vision. The standard distance for peripheral testing is 90 degrees from the center of your gaze. Household objects or a confrontation visual field test can be used. This simple method helps monitor vision health and detect potential problems like glaucoma or retinal issues. However, it should not replace professional eye exams for comprehensive assessment.
Color Vision Testing
Color vision testing evaluates the ability to distinguish between different colors, often using specialized charts or tools. The most common method involves Ishihara plates, which display numbers or shapes hidden within dots of varying colors. Individuals with normal color vision can see these patterns clearly, while those with deficiencies may see them differently or not at all. This test is crucial for identifying conditions like red-green color blindness. Testing is straightforward and can be done at home using printed charts or digital tools. Accurate results help determine if professional consultation is needed, especially for careers requiring precise color perception, such as design or aviation.
How to Perform a Distance Vision Test
Use a Snellen chart printed at full scale and pinned to a wall at eye level in a well-lit room. Stand 10 feet away, test each eye separately, and record results.
Step-by-Step Guide to Using the Snellen Chart
Download and print the Snellen chart on regular paper, ensuring it is full scale. Pin it to a wall at eye level in a well-lit room without glare. Stand 10 feet away from the chart. Wear distance glasses if needed. Cover one eye with your hand or an occluder and read the chart aloud, starting from the top. Identify the smallest line you can read clearly. Repeat the process with the other eye. The 20/20 line indicates normal vision; the 20/40 line is the legal driving standard. Record results for each eye and compare them to the standard measurements.
Interpreting Visual Acuity Measurements
Visual acuity measurements are expressed as a fraction, such as 20/20 or 20/40. The top number represents the distance from the chart (20 feet), and the bottom indicates the size of the letters compared to a standard. A lower second number means better vision. For example, 20/20 is normal vision, while 20/200 indicates severe impairment. Each eye is tested separately to identify differences in acuity. If results vary significantly, consult an eye care professional. These measurements help determine if corrective lenses or further evaluation are needed.
Testing Each Eye Separately
Testing each eye separately is crucial to assess individual vision quality. Cover one eye with a tissue or occluder and read the Snellen chart with the other. Start with the right eye, then repeat with the left. This helps identify differences in vision between the eyes. If wearing glasses, use them as directed—distance glasses for the distance test and reading glasses for near testing. Stand at the correct distance (10 feet for distance testing) and read the smallest line of letters visible. Record the results for each eye to track changes over time and detect potential issues early.

How to Perform a Near Vision Test
To perform a near vision test, use a near vision chart. Hold it 14 inches from your eyes in a well-lit area. Test each eye separately.
Using a Near Vision Chart
A near vision chart is essential for assessing close-up vision clarity. Print the chart on standard paper and ensure it is well-lit. Hold the chart 14 inches away from your eyes while sitting comfortably. Cover one eye with your hand or a card, focusing on the smallest text line you can read clearly. Repeat the process with the other eye. If wearing reading glasses, use them during the test. Record the results for each eye to track any changes over time. This method helps identify potential issues with near vision, such as myopia or presbyopia, early on.
Correct Distance for Near Vision Testing
The correct distance for near vision testing is crucial for accurate results. Hold the near vision chart at a consistent distance of 14 inches from your eyes. This ensures that the text is within your near focal point, allowing you to assess clarity and sharpness effectively. If the chart is too close, it may cause strain, while being too far could lead to inaccurate readings. Use a ruler to measure the distance precisely. Maintain good lighting and avoid glare on the chart. Keep your head steady and focus directly on the text. Testing each eye separately provides a clear understanding of your near vision capabilities.
Recording Results for Each Eye
When performing a near vision test, it’s essential to record results for each eye separately. Cover one eye and read the smallest line of text that can be seen clearly on the near vision chart. Note the line number and the number of letters read correctly. Repeat the process for the other eye, ensuring consistency in testing conditions. Documenting results helps track changes in vision over time and provides valuable information for eye care professionals. Accurate recording also aids in identifying any discrepancies between the two eyes, which could indicate potential vision issues requiring further evaluation. Consistency in documentation is key for reliable outcomes.
How to Test Peripheral Vision
Peripheral vision tests assess your ability to detect objects outside your direct line of sight. Simple methods include using household items or charts to measure side vision awareness and detect any limitations or blind spots, which can be crucial for early detection of potential eye health issues.
Confrontation Visual Field Test
The confrontation visual field test is a straightforward method to assess peripheral vision. During the test, the examiner stands at arm’s length, covers one eye, and asks the patient to look straight ahead. The examiner then moves fingers or small objects into the patient’s peripheral vision to determine how well they can detect movement or identify objects outside their direct line of sight. This test helps identify potential blind spots or limitations in the visual field, which could indicate issues such as optic nerve damage or other underlying eye health conditions. It is a valuable tool for early detection of vision problems.
Using Household Objects for Peripheral Testing
Household objects can be creatively used to test peripheral vision. Start by covering one eye and focusing straight ahead. A friend or family member can hold a small object, like a pen or finger, slightly outside your line of sight. Slowly move the object toward your side vision, asking when you first notice it. This helps assess how well you detect movement in your peripheral field. Repeat with the other eye. This simple method provides insights into your peripheral vision capabilities and can help identify potential issues, such as blind spots, that may warrant further professional evaluation.
Understanding Peripheral Vision Results
Peripheral vision test results indicate how well you detect motion and objects outside your direct line of sight. Normal results show consistent awareness of objects entering your side vision. If you struggle to detect objects or notice blind spots, it may signal potential issues like glaucoma or optic nerve damage. Significant discrepancies between the two eyes could also point to underlying conditions. These findings are not diagnostic but provide valuable insights into your visual health. If concerns arise, consulting an eye care professional for a comprehensive evaluation is crucial to address any underlying issues promptly and ensure proper management of your eye health.

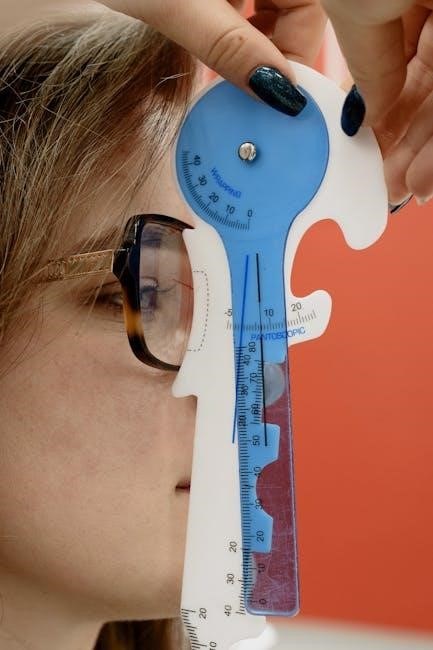
How to Check Color Vision
Use standardized color vision charts like Ishihara or Hardy-Rand-Rittler tests. Identify hidden numbers or shapes within the dots to assess color perception accuracy and detect deficiencies.
Using Color Vision Testing Charts
Color vision testing charts, such as the Ishihara or Hardy-Rand-Rittler tests, are designed to identify color vision deficiencies. These charts feature dots of varying colors and sizes, with hidden numbers or shapes visible to individuals with normal color vision. To use them, the chart is held at a standard distance, typically 20-24 inches, under good lighting conditions. The individual is asked to identify any visible numbers or shapes. If they cannot see them, it may indicate a color vision deficiency. These charts are widely used for initial screening but are not a substitute for comprehensive professional testing.
Identifying Color Vision Deficiencies
Color vision deficiencies, such as red-green color blindness, can be identified using specific testing charts. These charts use patterns of colored dots to hide numbers or shapes that individuals with normal vision can see. If a person cannot identify the hidden elements, it may indicate a color vision deficiency. Common types include protanopia (red-blindness) and deuteranopia (green-blindness), which are typically genetic. These tests are effective for initial screening but may not detect all types or severity levels of color vision issues. Professional exams, such as those using anomaloscopes, are often required for precise diagnosis. Early detection is crucial for managing conditions and adapting to visual challenges.
Importance of Color Vision Testing
Color vision testing is crucial for identifying deficiencies that may affect daily life and career choices. Many professions, such as graphic design, aviation, and healthcare, require accurate color perception. Early detection of color vision issues can help individuals adapt to limitations and explore suitable career paths. Additionally, color vision testing supports educational strategies for children with deficiencies, ensuring they receive appropriate accommodations. Regular testing also aids in monitoring changes in color perception over time, which can be indicative of underlying eye health conditions. While not all color vision deficiencies can be corrected, awareness enables individuals to manage challenges effectively and maintain optimal visual function in their personal and professional lives.

Interpreting Your Test Results
Understanding visual acuity scores is key to assessing vision health. Recognizing signs of vision problems, like blurry text or difficulty focusing, ensures timely professional consultation for proper diagnosis and care.
Understanding Visual Acuity Scores
Visual acuity scores, like 20/20, measure the sharpness of your vision. The top number represents the distance (20 feet) at which you’re viewing the chart, while the bottom number indicates the size of the letters you can read compared to the standard. A score of 20/20 means you can see objects clearly at 20 feet that most people with normal vision can also see. If your score is lower, such as 20/200, it signifies poorer acuity. These scores help identify potential vision issues, guiding whether corrective measures or professional consultation are needed to ensure optimal eye health and clarity.
Recognizing Signs of Vision Problems
Common signs of vision problems include blurred vision, eye strain, difficulty reading small text, and trouble seeing clearly at night. If you notice frequent headaches or fatigue while focusing, it may indicate an issue. Squinting to see objects or experiencing double vision are also red flags. If covering one eye improves clarity, it could signal a problem with the other eye. While these signs don’t always mean serious conditions, they often suggest the need for corrective measures. Regular manual checks can help identify these issues early, prompting a professional consultation to address potential eye health concerns effectively.
When to Consult an Eye Care Professional
If your manual eyesight check reveals significant difficulties, such as consistently missing letters on the Snellen chart or struggling to read smaller lines, it’s crucial to consult an eye care professional. Sudden changes in vision, eye pain, or double vision are urgent signs requiring immediate attention. Additionally, if home tests indicate visual acuity worse than 20/40, professional evaluation is recommended. Comprehensive eye exams can detect underlying conditions like glaucoma or cataracts. Even if symptoms seem mild, regular check-ups ensure early detection and treatment of potential issues, preserving long-term eye health and addressing any concerning findings from at-home tests effectively.

Maintaining Eye Health
Regular professional exams and healthy lifestyle choices are key to preserving vision. Protecting eyes from strain, using proper lighting, and following care routines ensure long-term eye wellness effectively.
Tips for Protecting Your Vision
Protecting your vision involves simple yet effective habits. Ensure proper lighting when reading or working to avoid eye strain. Follow the 20-20-20 rule: every 20 minutes, look 20 feet away for 20 seconds. Wear UV-protective sunglasses outdoors to shield eyes from harmful rays. Maintain a healthy diet rich in vitamins A, C, and E, and include leafy greens like spinach and kale. Avoid smoking, as it increases the risk of eye diseases. Regularly clean and disinfect contact lenses if used. Position screens at eye level to prevent tilting your head. Stay hydrated to keep eyes moist and comfortable. Prioritize eye safety with protective gear during hazardous activities.
Importance of Regular Professional Exams
Regular professional eye exams are essential for maintaining optimal vision health. They allow optometrists to detect underlying issues early, such as glaucoma or cataracts, which may not show symptoms. Comprehensive exams go beyond basic vision tests, incorporating advanced tools like autorefractors and retinoscopes for precise assessments. These exams ensure accurate prescriptions for glasses or contacts and can identify conditions like diabetes or hypertension affecting the eyes. Professional exams also provide personalized care, tailoring recommendations to individual needs. Even if home tests suggest good vision, only a professional can confirm eye health and address subtle concerns. Regular check-ups are crucial for preventing vision loss and ensuring long-term eye wellness.
Lifestyle Choices to Support Eye Health
A healthy lifestyle significantly contributes to maintaining strong vision. Eating a balanced diet rich in antioxidants, vitamins, and minerals, such as leafy greens and omega-3 fatty acids, supports eye health. Regular physical activity improves blood flow and reduces eye pressure. Avoiding smoking and limiting alcohol consumption can prevent vision-related complications. Protecting eyes from UV rays with sunglasses and hats is crucial. Staying hydrated and managing conditions like diabetes or hypertension also play a role. Incorporating eye-friendly habits, such as following the 20-20-20 rule during screen time and ensuring proper lighting while reading, can reduce strain. These choices help preserve vision and prevent potential issues.