Kenmore Elite Front Load Washer Manual: A Comprehensive Guide (Updated 04/22/2026)
Today is 04/22/2026 09:22:16 (). Welcome to this comprehensive manual designed to assist you with your Kenmore Elite Front Load Washer!
Congratulations on selecting a Kenmore Elite Front Load Washer! This appliance represents a commitment to quality and innovation, designed to deliver exceptional cleaning performance and long-lasting reliability. This manual serves as your primary resource for understanding and utilizing all the features your new washer offers.
We understand that operating a new appliance can sometimes feel daunting. Therefore, we’ve created this guide to be clear, concise, and easy to follow. Within these pages, you’ll find detailed instructions on installation, operation, maintenance, and troubleshooting.
This manual also provides crucial safety information to ensure the well-being of you and your family. Please take the time to read it thoroughly before operating your washer. We are confident that with this guide, you’ll enjoy years of efficient and effective laundry care with your Kenmore Elite washer.
Understanding Model Numbers & Series
Your Kenmore Elite Front Load Washer’s model number is crucial for identifying specific features, ordering replacement parts, and accessing detailed support information. The model number is typically located on a sticker affixed to the washer’s frame, often inside the door opening or on the back panel.
Kenmore Elite washers are categorized into series based on their features and capabilities. Understanding the series designation helps determine compatibility with accessories and available cycle options. Refer to the complete model number to pinpoint your washer’s exact specifications.
This information is vital when contacting customer support or searching for online resources. Having your model number readily available streamlines the assistance process and ensures you receive accurate guidance tailored to your specific appliance.
Safety Precautions & Warnings
Important Safety Instructions: To reduce the risk of fire, electric shock, or injury when using your Kenmore Elite Front Load Washer, always adhere to these precautions. Never operate the washer with a damaged power cord or plug. Ensure the appliance is properly grounded.
Do not attempt to repair the washer yourself; contact qualified service personnel for assistance. Keep children and pets away from the washer during operation. Avoid placing flammable materials near the appliance.
Always disconnect the power supply before cleaning or performing maintenance. Do not overload the washer, as this can cause damage or injury. Read all instructions before use and retain this manual for future reference.
Getting Started: Installation & Setup
Prepare for seamless operation! This section details the initial steps for installing and setting up your new Kenmore Elite Front Load Washer correctly.
Initial Installation Steps
Unpacking and Preparation: Carefully unpack your Kenmore Elite Front Load Washer, ensuring all packing materials are removed from inside the drum and around the appliance. Inspect for any visible damage incurred during shipping; Report any damage immediately to the retailer.
Removing Shipping Bolts: Locate and remove the shipping bolts from the rear of the washer – these are crucial for stabilizing the drum during transport and must be removed before operation. Retain these bolts for potential future relocation.
Positioning the Washer: Place the washer on a firm, level floor capable of supporting its weight, even when fully loaded. Ensure adequate space around the washer for proper ventilation and access for maintenance.
Tools Required: You will likely need a level, adjustable wrench, and possibly pliers for these initial steps.
Connecting Water Supply & Drain Hose
Water Supply Connection: Attach the supplied water inlet hoses to both the hot and cold water faucets. Ensure a tight, leak-proof connection using appropriate wrenches, but avoid over-tightening. The hot water hose is typically marked with red, and the cold with blue.
Drain Hose Installation: Securely insert the drain hose into a standpipe or laundry tub, ensuring it’s positioned at the correct height (refer to the full manual for specific measurements) to prevent siphoning.
Hose Inspection: Carefully inspect both the water supply and drain hoses for kinks, bends, or damage before fully opening the water supply valves.
Leak Check: After connecting, slowly turn on the water supply and check all connections for leaks.
Leveling the Washer
Importance of Leveling: Proper leveling is crucial for optimal washer performance, minimizing vibration, and preventing noise during operation. An unleveled washer can also cause error codes or damage to internal components.
Adjustable Feet: Your Kenmore Elite washer features adjustable feet located at each corner. Use a level to check the washer’s stability in both directions – side-to-side and front-to-back.
Adjustment Process: Rotate the feet clockwise to lower that corner, and counterclockwise to raise it. Make small adjustments and re-check with the level after each adjustment.
Locking Nuts: Once leveled, securely tighten the locking nuts against the washer’s base to prevent the feet from shifting.
Operating Your Kenmore Elite Washer
This section details how to effectively use your Kenmore Elite washer, covering control panel functions, cycle selections, detergent usage, and optimal load sizes.
Control Panel Overview & Functions
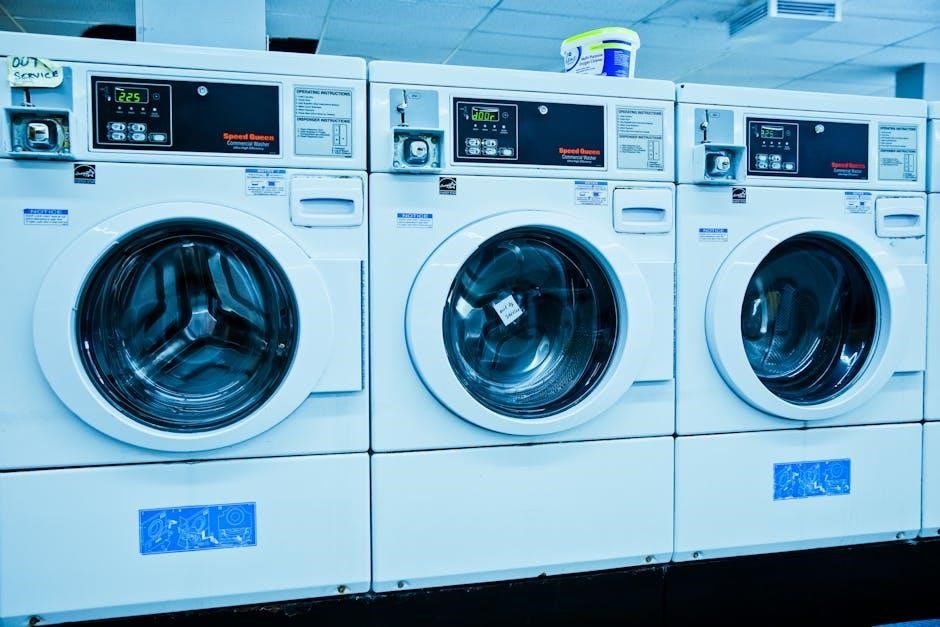
The Kenmore Elite front load washer’s control panel is intuitively designed for ease of use. A central digital display clearly shows cycle selections, remaining time, and any error codes. The Power button initiates or stops the washer. Cycle selection is managed via a dial, offering options like Normal, Delicates, Heavy Duty, and Quick Wash.
Additional buttons control specific features: Steam, Sanitize, Delay Start, and Spin Speed. Temperature adjustments are also readily available. The ‘Options’ button allows customization of rinse cycles and soil levels. Understanding these functions ensures optimal cleaning performance and garment care. Refer to the full wash cycle guide for detailed descriptions of each setting and its intended use. Familiarize yourself with the panel for a seamless laundry experience.
Wash Cycle Selection Guide
Choosing the correct wash cycle is crucial for optimal cleaning and fabric care. The ‘Normal’ cycle suits everyday laundry, while ‘Delicates’ gently cleans lingerie and sheer fabrics. ‘Heavy Duty’ tackles heavily soiled items like work clothes and towels; ‘Permanent Press’ minimizes wrinkles in synthetic blends.
Specialty cycles include: ‘Sanitize’ for eliminating bacteria, ‘Steam’ for deep cleaning and wrinkle reduction, and ‘Quick Wash’ for lightly soiled items needing a fast refresh. A ‘Bulky Items’ cycle accommodates comforters and blankets. Always consult garment care labels before selecting a cycle. Incorrect cycle selection can lead to damage or ineffective cleaning. Utilize the control panel’s cycle descriptions for informed choices.
Understanding Detergent Dispenser Options
Your Kenmore Elite washer features a multi-compartment dispenser for optimal detergent usage. The compartment marked “I” or “Pre-Wash” is for pre-wash detergent, used for heavily soiled loads. The main compartment, often marked “II”, is for your primary detergent – liquid, powder, or pods.
A separate compartment, typically labeled with a fabric softener icon, is for liquid fabric softener or dryer sheets. Do not overfill any compartment, as this can cause residue buildup or dispensing issues. Always refer to your detergent packaging for recommended amounts based on load size and soil level. Using HE (High Efficiency) detergent is essential for front-load washers to prevent excessive suds.
Load Size Recommendations
Optimizing load size is crucial for efficient washing and preventing damage to your Kenmore Elite washer. Avoid overloading, as this restricts garment movement and can lead to incomplete cleaning or strain on the motor. A good rule of thumb is to fill the drum approximately three-quarters full.
For bulky items like comforters or blankets, reduce the load size significantly to allow for proper agitation. Smaller loads, around half the drum capacity, are recommended for delicate fabrics. Always check garment care labels for specific washing instructions. Overloading can also cause excessive vibration and potentially damage the washer’s components over time;

Advanced Features & Settings
Explore enhanced washing capabilities! This section details steam wash, sanitize cycles, delay start options, and customizable spin speeds for optimal results.
Steam Wash Functionality
Harness the power of steam for a deeper, more hygienic clean! The Kenmore Elite Front Load Washer’s Steam Wash feature penetrates fabrics effectively, loosening dirt and stains that traditional washing struggles to remove. This is particularly beneficial for heavily soiled items, bedding, and garments requiring allergen reduction.
To activate Steam Wash, select a cycle that includes this option – often found within the ‘Sanitize’ or ‘Heavy Duty’ settings. The washer will automatically generate steam during portions of the wash cycle, enhancing cleaning performance while being gentle on your clothes. Steam helps to reduce wrinkles and leaves fabrics feeling remarkably fresh. Always consult the garment care label before using steam wash to ensure compatibility.
Sanitize Cycle Details
Eliminate bacteria and allergens with the powerful Sanitize cycle! This cycle utilizes elevated water temperatures – reaching approximately 150°F (66°C) – to effectively kill 99.9% of common household bacteria, including staphylococcus aureus and E. coli. It’s ideal for washing items like baby clothes, linens, and anything requiring a deep hygienic clean.
The Sanitize cycle is typically longer than standard wash cycles due to the extended heating and washing phases. Ensure your detergent is compatible with high-temperature washes. Avoid using bleach alongside the Sanitize cycle, as it may damage fabrics. Always check garment care labels before selecting this cycle to prevent potential damage. This cycle provides peace of mind for a truly clean wash.
Delay Start & End Time Options
Maximize convenience with the Delay Start and End Time features! The Delay Start allows you to pre-set a time for the washer to begin a cycle, perfect for scheduling washes around your daily routine or taking advantage of off-peak energy rates. You can delay the start for up to 24 hours.
The End Time option lets you specify when you want the cycle to finish. The washer will automatically adjust the start time to ensure completion at your desired hour. Both options are easily programmed through the control panel. Remember to account for cycle duration when setting these times. These features offer flexibility and control over your laundry schedule, saving you time and energy!
Spin Speed Customization
Tailor your wash to fabric types with Spin Speed Customization! Your Kenmore Elite washer offers multiple spin speed settings, ranging from Gentle to High. Lower speeds are ideal for delicate items like lingerie and sweaters, minimizing wrinkles and damage. Medium speeds suit everyday fabrics like cotton blends, providing efficient water extraction.
High spin speeds are best for durable fabrics like towels and jeans, maximizing water removal and reducing drying time. Adjusting the spin speed impacts both fabric care and cycle length. Consult the Wash Cycle Selection Guide for recommended spin speeds for various load types. Experiment to find the optimal setting for your laundry needs!
Troubleshooting Common Issues
Encountering problems? This section provides solutions for typical issues like the washer not starting, drainage problems, error codes, and water leaks.
Washer Won’t Start – Possible Causes
If your Kenmore Elite front load washer fails to start, several factors could be at play. First, verify the power cord is securely plugged into a functioning outlet. Check your home’s circuit breaker or fuse box to ensure the circuit hasn’t tripped or blown.
Next, confirm the door is completely latched; the washer won’t operate if the door isn’t securely closed. Also, examine the control panel for any active error codes, as these can indicate specific issues preventing startup. A paused or cancelled cycle might also be the culprit – ensure no cycles are interrupted.
Finally, consider a potential issue with the washer’s internal components, such as the motor or control board, which may require professional diagnosis and repair.
Drainage Problems & Solutions
Experiencing drainage issues with your Kenmore Elite washer? Begin by checking the drain hose for kinks or obstructions. Ensure it isn’t bent or crushed, restricting water flow. Next, inspect the drain pump filter – located typically at the front of the machine – for lint, debris, or small objects. Cleaning this filter regularly is crucial for optimal drainage.
If the issue persists, verify the drain hose is correctly positioned in the standpipe, not inserted too far, which can cause siphoning. A clogged house drain can also prevent proper drainage; check other nearby drains.
Severe clogs might necessitate professional assistance to clear the drain line effectively.
Error Codes & Their Meanings
Your Kenmore Elite washer utilizes error codes to diagnose potential problems. A code like “LE” typically indicates a water leak detected somewhere within the system – check connections and the door seal. “OE” signals an overfill condition, potentially due to a faulty water inlet valve or a blocked drain.
“UE” often points to an unbalanced load, requiring redistribution of clothes within the drum. “HE” suggests insufficient heating during a steam cycle. “FE” indicates a foaming issue, usually caused by excessive detergent use.
Consult the complete error code list in the full manual for a comprehensive understanding of each code and recommended solutions.
Leaking Water – Identifying the Source
Water leaks can occur in several areas of your Kenmore Elite front load washer. First, inspect the door seal (gasket) for tears, debris, or improper seating – this is a common culprit. Check the water inlet hoses and drain hose connections for tightness and cracks.
Examine the detergent dispenser drawer; overfilling or clogs can cause overflow. A leak from underneath the washer may indicate a pump or tub seal issue, requiring professional attention.
Always disconnect power before investigating leaks and carefully dry any spilled water to prevent electrical hazards.
Maintenance & Care
Regular cleaning extends your washer’s life and maintains optimal performance. This section details procedures for the drum, dispenser, seal, and filter.
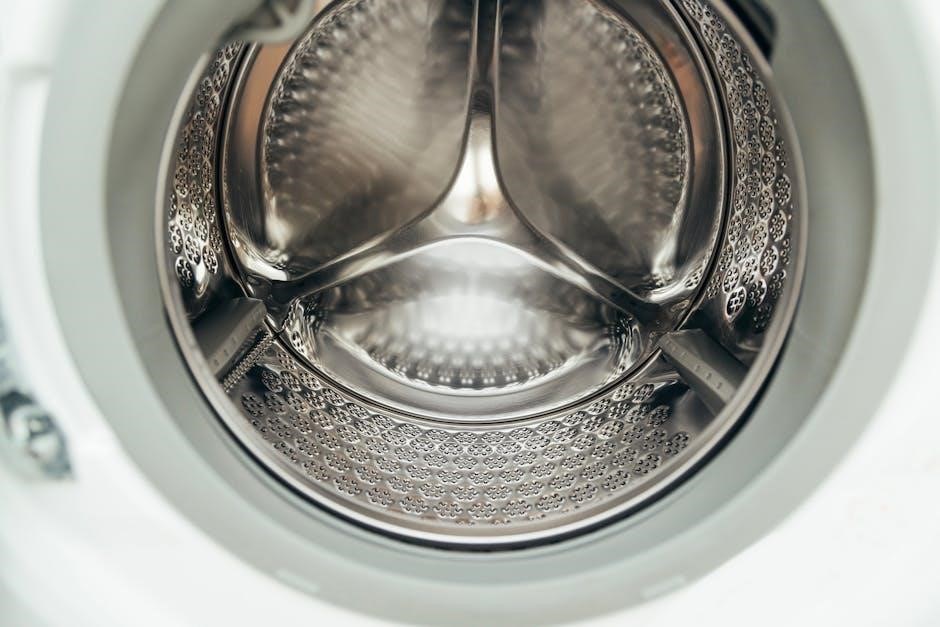
Cleaning the Washer Drum
Maintaining a clean washer drum is crucial for preventing odors and residue buildup. Kenmore recommends performing a drum cleaning cycle monthly, or more frequently with heavy use. Utilize the Kenmore Washer Cleaner, or a comparable drum cleaning solution, following the product’s instructions carefully.
For a manual clean, wipe down the interior of the drum with a damp cloth and mild detergent. Pay close attention to the areas around the door seal and the agitator (if applicable). Avoid abrasive cleaners, as they can damage the stainless steel. After cleaning, leave the door ajar to allow the drum to air dry completely, preventing mildew growth. This simple step ensures fresh, clean laundry every time.
Cleaning the Detergent Dispenser
Regularly cleaning the detergent dispenser prevents clogs and ensures optimal detergent distribution. Kenmore suggests removing the dispenser drawer completely – typically by pressing a release tab. Rinse all compartments thoroughly under warm water, using a soft brush to dislodge any hardened detergent or fabric softener residue.
Inspect the dispenser housing within the washer for any buildup and clean as needed. Avoid using abrasive cleaners, which could damage the plastic components. Ensure the dispenser is completely dry before reinserting it into the washer. A clean dispenser guarantees efficient detergent usage and prevents potential issues with wash performance, contributing to consistently fresh laundry.
Cleaning the Door Seal & Gasket
Maintaining a clean door seal and gasket is crucial for preventing mold, mildew, and unpleasant odors. After each wash, wipe down the rubber seal with a soft, damp cloth. Pay close attention to the folds and crevices where lint, detergent residue, and small items can accumulate.
Periodically, use a diluted bleach solution (follow washer’s manual guidelines for dilution) to disinfect the seal, ensuring thorough rinsing afterward. Leaving the washer door slightly ajar after use promotes air circulation and helps prevent moisture buildup. A clean seal ensures a watertight closure, maximizing washing efficiency and extending the life of your Kenmore Elite washer.
Filter Cleaning Procedures
Regular filter cleaning is essential for optimal washer performance and preventing drainage issues. Locate the filter access panel, typically at the front bottom of the machine. Before opening, place towels to absorb any residual water. Carefully unscrew and remove the filter cap, as water may spill.
Clean the filter thoroughly, removing lint, hair, coins, and other debris. Inspect the filter housing for obstructions. Reinstall the filter cap securely, ensuring a watertight seal. Consult your Kenmore Elite washer’s manual for specific filter location and cleaning frequency recommendations. A clean filter ensures efficient water drainage and prevents potential damage to the pump.

Parts Diagram & Replacement
An illustration of a magnifying glass indicates access to detailed diagrams and information regarding component locations for easy part identification and replacement.
Locating Key Washer Components
Understanding the internal layout of your Kenmore Elite Front Load Washer is crucial for maintenance and potential repairs. Key components, such as the motor, pump, and heating element, are generally accessible through the rear access panel after disconnecting power. The detergent dispenser, often a source of clogging, is located on the front and easily removable for cleaning.
The drain pump filter, vital for preventing blockages, resides at the bottom front of the machine, behind a small access door. The drum itself is constructed from stainless steel, offering durability. The door boot (gasket) requires regular inspection for mold and debris. Detailed diagrams, often found within the full service manual (available online), pinpoint the exact location of each part, simplifying troubleshooting and replacement procedures. Always consult the safety precautions before attempting any internal access.
Common Replacement Parts
Over time, certain components of your Kenmore Elite Front Load Washer may require replacement to maintain optimal performance. Frequently replaced parts include the drain pump, often failing due to debris obstruction. The door boot (gasket) is susceptible to wear and tear, leading to leaks and requires periodic attention. Detergent dispenser components can become brittle and crack, hindering proper dispensing.
Additionally, the drive belt, responsible for drum rotation, may stretch or break. Water inlet valves, controlling water flow, can malfunction. Shock absorbers, crucial for minimizing vibration, often wear out. These parts are generally available through appliance parts retailers, both online and locally. Always verify compatibility with your specific model number before purchasing replacements, ensuring a proper fit and function.
Where to Find Replacement Parts
Locating replacement parts for your Kenmore Elite Front Load Washer is straightforward. Sears PartsDirect is a primary source, offering a vast inventory specifically tailored to Kenmore appliances. Numerous online retailers, such as AppliancePartsPros and RepairClinic, specialize in appliance parts and provide detailed model compatibility checks. Local appliance repair shops often stock common parts and can offer expert advice.
When searching, always have your washer’s complete model number readily available. This ensures you order the correct component. Comparing prices across different vendors is recommended. Consider shipping costs and return policies before finalizing your purchase. Some retailers offer diagrams and videos to aid in the installation process, simplifying repairs and extending the life of your appliance.